"Magical key" pendant - two days workshop in silver or bronze
"Magical key" pendant - two days workshop in silver or bronze |
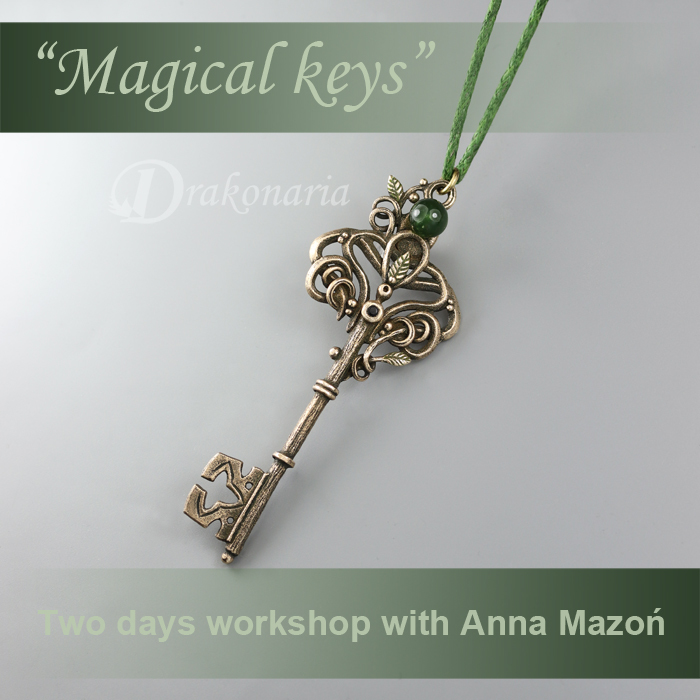
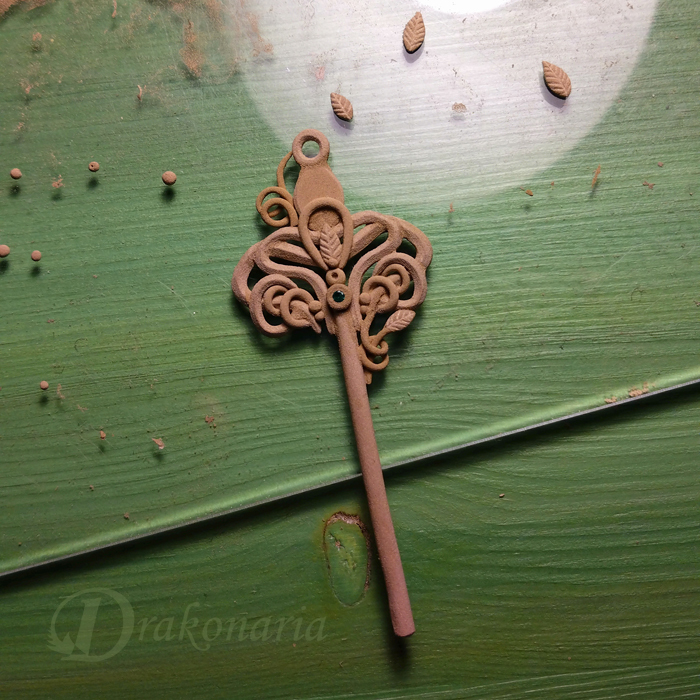
„Magical key” pendant is a two days workshop packed with lots of different techniques, featuring an ornate, hand formed, openwork key, adorned with various, tiny details. Additional adornments may include leaves, balls, other small embellishments, fireable gems and half-drilled stone/pearl added after the firirng.
It's an intermediate project, perfect for those who love fairy tale like aesthetics and like a good challenge. New techniques of working with coils, interesting shapes, lots of tricks for creating openwork effects in metal clay, dealing with symmetry - this is what this workshop is about.
This workshop can be taught both in silver and bronze - all techniques stay the same, but in case of bronze, due to longer firing schedule, pieces will be fired after the class and shipped to the Students (or collected the next day).
Main objectives
- learn to make symmetrical coils
- learn to create wrought-iron-style fnish on your coils
- learn to contruct a strong openwork construction
- learn to make miniature adornments
- learn to prepare setting for a half-drilled stone
- learn to understand possible distortion in openwork projects and how to deal with it
List of necessary tools and materials:
- Clay - 20 grams – Art Clay or PMC fine silver. You won't use that much, but this amount will definitely be very comfortable to have.
- a half drilled stone which you like, smaller than 8 mm in diameter (the studio will provide some, but no guarantee you'll find your favourite stone there)
- working surface – bigger one and a few smaller ones (preferably the size of playing cards)
- roller, cards etc. all those basic things you use to work with metal clay
- fine files (round file with a very pointy end is a must! Additionaly flat an semi round file)
- something with a pointy end (stainless steel burnisher/toothpick/needle tool etc.)
- optionally a cubic zirconia
- brushes – at least two (for working wet and dry)
- something sharp for cutting clay – scalpel blade, needle tool etc.
- scissors, pencils, sketchbook
- tweezers, preferably with pointy ends, suitable to grab really tiny things.
- students can bring various tiny moulds, if they want to.
- if someone uses glasses,please, do not forget them.
- optivizors might be helpful in this class.
The studio of course has all the necessary tools, but if everyone forgets to bring theirs we migth have a problem :-). Plus it's always nicer to work with your favourite equipment that you are used to.


